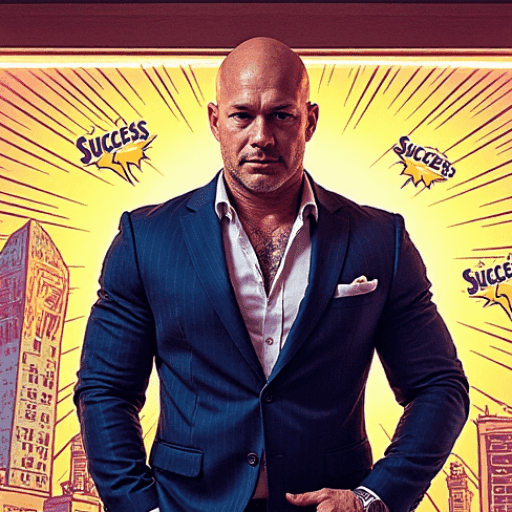
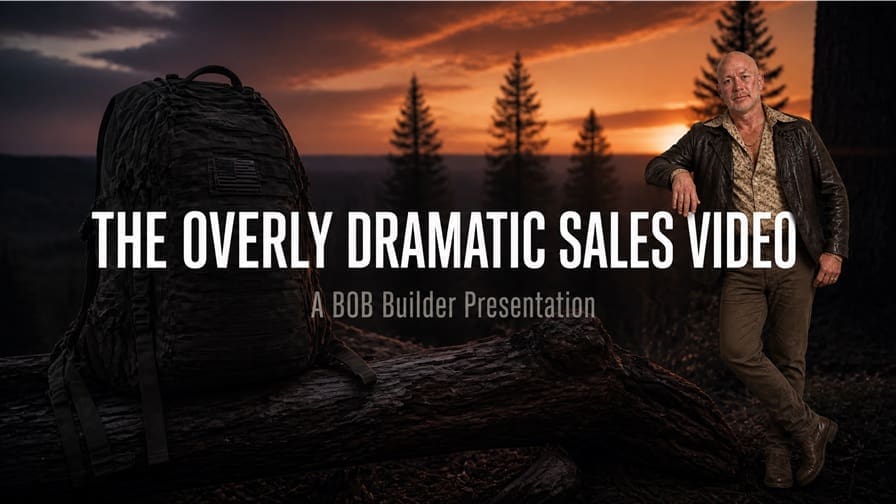
I needed to drop myself into another era and keep me there for an entire video.
No costumes. No sets. No film crew. No budget for any of the above.
I’m finishing a cinematic VSL for a launch that goes live in about a week. The concept pulls me out of the present, puts me somewhere else entirely, and moves me through a run of different settings inside that world. Same me (at least a version of). Same era. Scene after scene, holding together well enough that nobody stops to squint at it.

I could have jumped eras on top of that. The method handles it fine. I just didn’t need to for this one, and that distinction matters more than it sounds — consistency across a dozen shots in ONE world is the harder problem, and it’s the one that a lot of creators struggle with.
Here’s what wrecks this for a lot of people the second they try it.
The character changes. Scene one is you. Scene two is close enough. By scene four you’re looking at a stranger wearing your haircut.
That’s character drift. It’s the number one reason AI video projects get abandoned at the halfway mark or get published when they shouldn’t have, and it’s the reason a lot of illustrated book projects die on page six.
The fix is three prompts and about ten minutes of setup. Then it holds for the entire project.
What You Need Before You Start
One photo. That’s it.
Clear, straight-on shot of the face. Plain background. Good even light. Nothing fancy — a wall in your house works fine.
This used to require a whole pile of reference images from every conceivable angle. Not anymore. One good frontal shot is typically enough now. If you want to be thorough, hit a couple of extra angles and you’ll get a slightly more accurate result — but don’t let the absence of a photo shoot stop you.
I keep a small set of these on hand. Plain background, few different angles, shot once, and great for all projects I want to use my likeness. Worth doing on a random Tuesday so it’s ready when you need it.

Step 1: Build the Base Character Sheet
Upload your photo and run this prompt. I used GPT2.0 for this one, but this works in any decent multimodal image model.
Create a character reference sheet of this person.

Provide a Full Front View, Full Back View, Full Side View, and a 3/4 Front View.

Keep the face, hair, and body proportions identical in every view.

Clean white background. Even lighting. Full body head to feet in every view. No text, no labels, no props.
That’s the whole prompt. No secret sauce, no 400-word incantation.
What comes back is a single image with your character standing in four positions on a white background. Front, back, side, three-quarter.
Save it. This is now your master asset. Everything else in the project references it.

Step 2: Re-Skin the Character Into Any Era You Want
Here’s the magic, and it’s what makes the entire workflow worth your time.
You take the sheet you just made and feed it back in as the reference. Then you change everything except the person.
Wardrobe. Hair. Era. Attitude. All of it becomes a variable, but you keep your character intact.
Here’s the exact prompt I ran for the 1970s version of myself:
Create a character reference sheet using this character.

Change his wardrobe and appearance to fit a [1970s] era theme and feel. He has a [shady, shifty, sleazy] style about him.

Keep his face, bone structure, hair color, and body proportions identical to the reference sheet.

Provide a Full Front View, Full Back View, Full Side View, and a 3/4 Front View. Clean white background. Even lighting.
Swap the brackets to fit your needs and results.
Wild West drifter. 1940s detective. Cyberpunk street medic. Medieval blacksmith with a bad attitude. Corporate ghoul in a 1980s power suit you get the idea.
The personality line is important. “He has a shady, shifty, sleazy style about him” changes the posture, the expression, the way the clothes hang. AI is pretty good at capturing a ‘feel’ from my experience. Describing wardrobe alone gets you a mannequin. Whereas describing attitude gets you a character.
One more thing on tooling. I bounce between GPT2.0 and Nano Banana PRO depending on the project, because they each have a different feel and one will usually nail the look I’m chasing better than the other. Run your sheet through both. Takes two minutes and you keep the better one. Of course these are two of the more expensive models and so it doesn’t hurt to check around with the other ones. Not to mention this is a constant evolving tech so it will probably change by lunch today.
The output of this step is your filming asset. Not the base sheet. This one. The themed, styled, in-era version is what you’ll hand to your video generator for every single scene.

Step 3: Take the Sheet to Your Video Generator
Attach the themed sheet as your reference. Then write your scene.
QUICK TIP: reference the character multiple times inside a single prompt. Not once at the top. Repeatedly, throughout the description. This helps to keep the generator on track, otherwise like me they get sidetracked and may end up confusing things.
Sounds redundant. It isn’t. Every mention is another anchor point, and the model needs the reminders.
[Attach your final themed character sheet as the reference image]

The man from the reference sheet walks into a dimly lit hotel lobby.

The man from the reference sheet stops at the front desk and glances over his shoulder.

Camera slowly pushes in on the man from the reference sheet.

The man's face, hair, wardrobe, and build match the reference sheet exactly in every frame.
I know it says copy in the box above, but that’s not really for you to copy. I just made that to show how redundant you want to be. One note on that. Depending on your model you’ll reference the character (or whatever) in a different way. Quite often it’s with a @ symbol and selecting the image you uploaded. You get the idea though. Same principle applies to still images, by the way. If you’re generating scene illustrations for a book instead of video, reference the character just as aggressively.
Now the Finisher
Three prompts gets you a consistent character. These next moves are what get you a finished piece of work.
Build sheets for everything, not just people
The same process works on backgrounds. Objects. Vehicles. A specific room. That beat-up briefcase your character carries in every scene.
Make a reference sheet for it. Reference it in every prompt. Continuity stacks.
This is the difference between a video that feels like a series of unrelated clips and one that feels like it was actually shot somewhere and feels real!
When your character changes mid-project, don’t panic
Character breaks an arm halfway through the story. Gets a haircut. Ends up soaked, bloodied, or wearing a different jacket for the back half.
You’ve got two options.
Option one: film the clip where the change happens, then screenshot the new look and use that still as your reference going forward.
Option two, and this is what I prefer: build a brand new character sheet for the updated version. Often I’ll use that screenshot as a reference for the new sheet — feed in the original sheet and the screenshot together.
[Attach the original character sheet AND the reference screenshot]

Create a character reference sheet of this same man with [his left arm in a cast].

Keep his face, hair, and build identical to the original sheet. Carry over the wardrobe from the original sheet unless the change requires otherwise.

Provide a Full Front View, Full Back View, Full Side View, and a 3/4 Front View. Clean white background.
Full disclosure. This isn’t perfect. I often will run 2 to 4 outputs at once to make sure I get a perfect one in quick-time. Sometimes it’s unnecessary, and sometimes I still have to go again. It’s a balance game of credit (or money) and time. Ultimately though it’s one of those or quality that will be paid. Now you’ve got a “before” sheet and an “after” sheet. Use the right one for the right half of the story and your continuity holds through the whole thing.

Keep a folder
Every sheet you build is reusable. Forever.
I’ve got base sheets sitting in a folder that I keep pulling back out and re-skinning for new projects. The ten minutes you spend today keeps paying out for months.
Why This Works When Prompt-Wrangling Doesn’t
When you describe a character in words, you’re asking the model to interpret. Every generation is a fresh interpretation. Interpretations vary and you just won’t keep the consistency you need.
When you hand it a reference sheet, you’re not asking it to interpret anything. You’re giving it the answer and telling it to stop guessing, but rather build from this.
Four angles means it already knows what the back of the head looks like. It knows the profile. It doesn’t have to invent them under pressure while also trying to render a hotel lobby.
It’s that simple.
Extra Tip: I’ve read or heard that erasing some of the extra heads on the character sheet help. The idea is that there may be variety in them so removing multiple options helps with consistency. I’ve tried both (numerous times) and haven’t seen the difference. Nonetheless, it’s a good bit of knowledge to keep if you do have a face consistency issue in the future.
Go Build One
Take a photo of yourself against a blank wall right now. Run Step 1. Then re-skin yourself into whatever era amuses you.
Ten minutes and you’ll have an asset that outlasts the project you built it for.
And if you’ve been sitting on an illustrated book, a comic, a kids series, or a video concept that you shelved because the character kept turning into somebody else — that problem is solved. Go dig it back out.
The specific little things goes deeper on prompt detail, and the cage match covers which models hold a reference best.